Have Questions? Call Now
512-777-0154
You’ve got the grill. The backyard. Maybe even a decent patio setup. But somehow, cooking outside still turns into a clumsy relay between your kitchen and yard. You’re juggling trays, grabbing utensils you forgot, and trying not to burn the burgers while shouting through the screen door.
It’s more chaotic than relaxing.
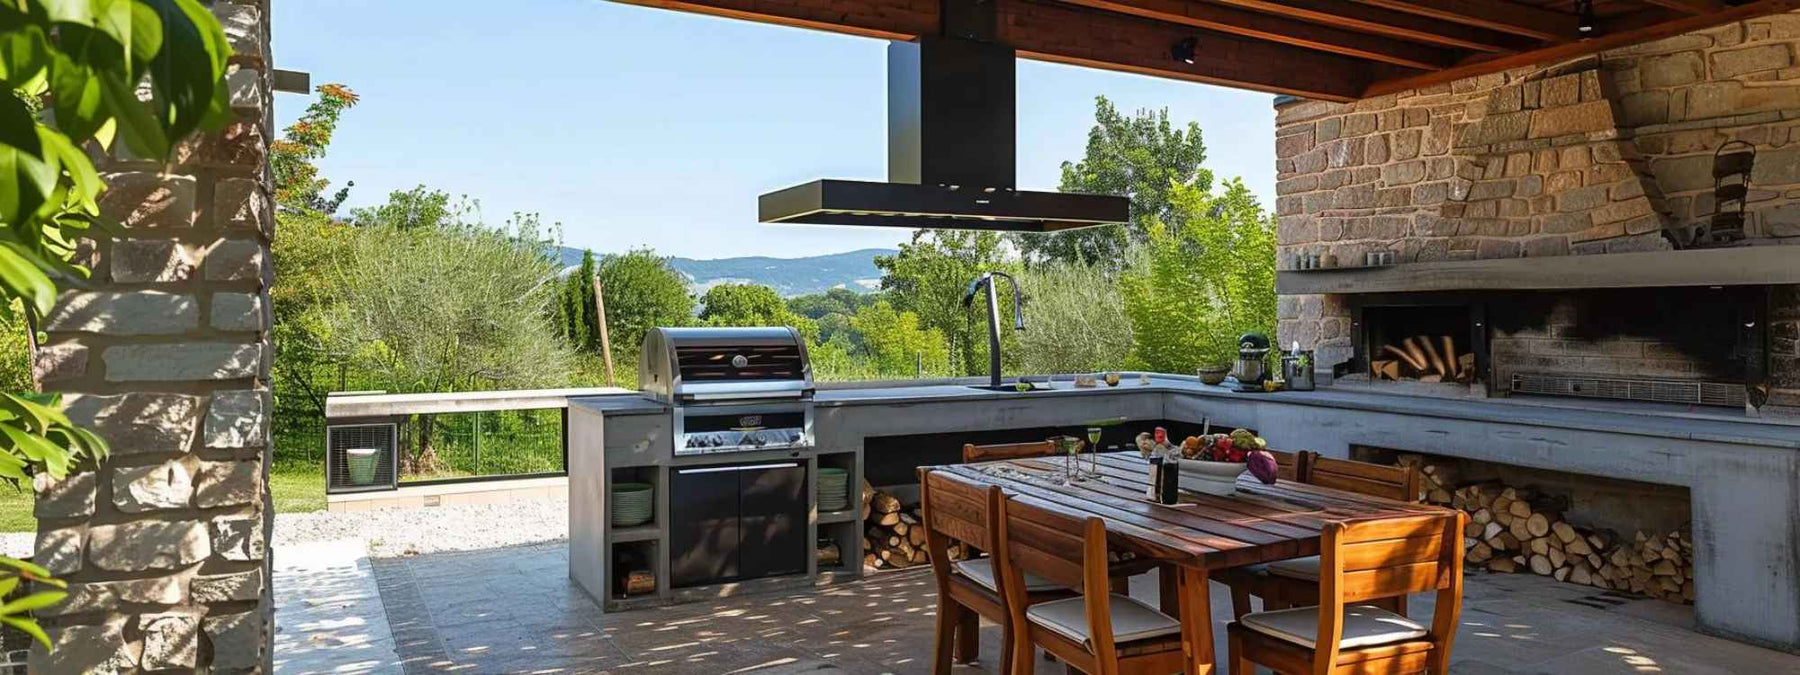
That’s where an outdoor cooking station changes things. It's about making your outdoor living space work for you. A simple setup that keeps everything in one place. Easy to prep. Easy to cook. Easy to enjoy.
Whether you're hosting dinner or just flipping a quick weeknight steak, having the essentials outside makes it smoother, cleaner, and a lot more fun.
Before you buy anything or start sketching layouts, pause for a second. What exactly are you building this for?
Is it just for quick weeknight grilling? Hosting big weekend barbecues? Or maybe a cozy setup for two with the occasional sizzle?
Because your outdoor kitchen setup should match your habits, not someone else’s highlight reel. If you’re not making homemade pizza, you don’t need a pizza oven. If you never host, maybe skip the twelve-person prep area.

Ask yourself a few simple questions:
These small details can change everything, like where you put the barbecue grill or whether you’ll need a shade solution.

Here’s a rough size guide to keep in mind:
Even if you’re working with a small space, don’t write it off. Compact stations like Sunstone 5.5ft Outdoor Grill Island Package can be just as functional when planned right.
Sketch it out on paper. Or use a free online tool if that’s more your thing. Just a clear plan you can build from.
When you picture your ideal outdoor cooking station, it’s easy to go big. Shiny freestanding grills, fancy smokers, pizza ovens. But more isn’t always better. Before your cart is overflowing, let’s sort out what you’ll use.

Next, think about a countertop or prep surface like in Sunstone Hill Country 13.6ft Outdoor Grill & Cabinet Island Package. Cooking outdoors is easier when you’re not balancing plates on lawn chairs. Storage is often overlooked. A basic cabinet or weatherproof drawers for utensils and seasonings go a long way.
Choose what fits your cooking habits.
Outdoor materials don’t just need to look nice. They need to survive sun, rain, wind, and whatever else your local weather throws at them.

Moisture, UV exposure, and stains are all things to think about. Go for something you won’t dread cleaning or replacing.
Skip anything designed for indoor kitchens. Particle board, MDF, or untreated wood will warp, crack, or worse, grow mold. Stick with materials made for the outdoors.
It’s easy to forget that built-in grills, sinks, and fridges don’t power themselves. If you skip this part—or leave it too late—you’ll end up with a setup that looks great but doesn’t work.
Start with the Memphis Grills Elevate™ 30" Freestanding Pellet Grill. If you’re using propane, it’s simple: just hook up a tank and go. No digging. No permits.
But if you want a natural gas line, that’s a different story. You’ll need a professional to run the line, and possibly permits, depending on where you live. It’s more work upfront, but you’ll never have to swap out tanks again.
Now think about electricity. Do you plan to plug anything in?
If the answer is yes, you’ll need weatherproof outlets in smart spots. Add more than you think you need. It’s easier to install them now than to fix them later.

The first feels more like an indoor kitchen. The second is faster, cheaper, and often enough for rinsing hands or washing veggies.
Think about your kitchen indoors. You have clear zones: prep, cook, serve. Do the same here.
Place your prep space close to the Alfresco Grills 56″ Deluxe Grill Refrigerated Cart Model—easy access means less chance of dropping your perfectly seasoned steak on the ground. Serving areas should be nearby too, so cooked food can be plated without a juggling act.

And let’s talk lighting. Cooking after dark can quickly go from relaxing to frustrating. It doesn’t need to be fancy. Simple overhead fixtures or even string lights will do the job nicely.
Shade is another comfort must-have. It helps during midday cookouts and gives you cover if the weather turns on you. Umbrellas, pergolas, or built-in awnings all work. Keep it simple.
Seating is optional, but a smart choice if you like company while cooking. A few LuxCraft Bar Stools along a ledge encourage conversation without crowding your workspace.
No project goes perfectly. That’s just part of the deal. But a few mistakes show up more than others, and they’re surprisingly easy to avoid if you spot them early. Here are some of the big ones:

If you’re still on the fence about building an outdoor cooking station, think back to your last barbecue.
You probably spent half your time indoors, grabbing seasonings, prepping veggies, and searching for utensils. You missed conversations, burned a burger or two, and finished the evening wondering why grilling feels more like work than fun.
An outdoor cooking station doesn’t need to be complicated. Even a simple setup can make outdoor cooking less stressful and way more enjoyable.
Plus, there’s the bonus of adding real value to your home. Not just money-wise, but quality-of-life-wise. When cooking outside becomes easy, you’ll find yourself out there more often. Dinner feels less rushed, and entertaining becomes genuinely relaxing.
If you’re after more ideas and advice, our blogs are packed with guides to help you make the most of your outdoor space.
Go ahead, start simple. Then watch your outdoor space become your favorite part of the house.

