Have Questions? Call Now
512-777-0154
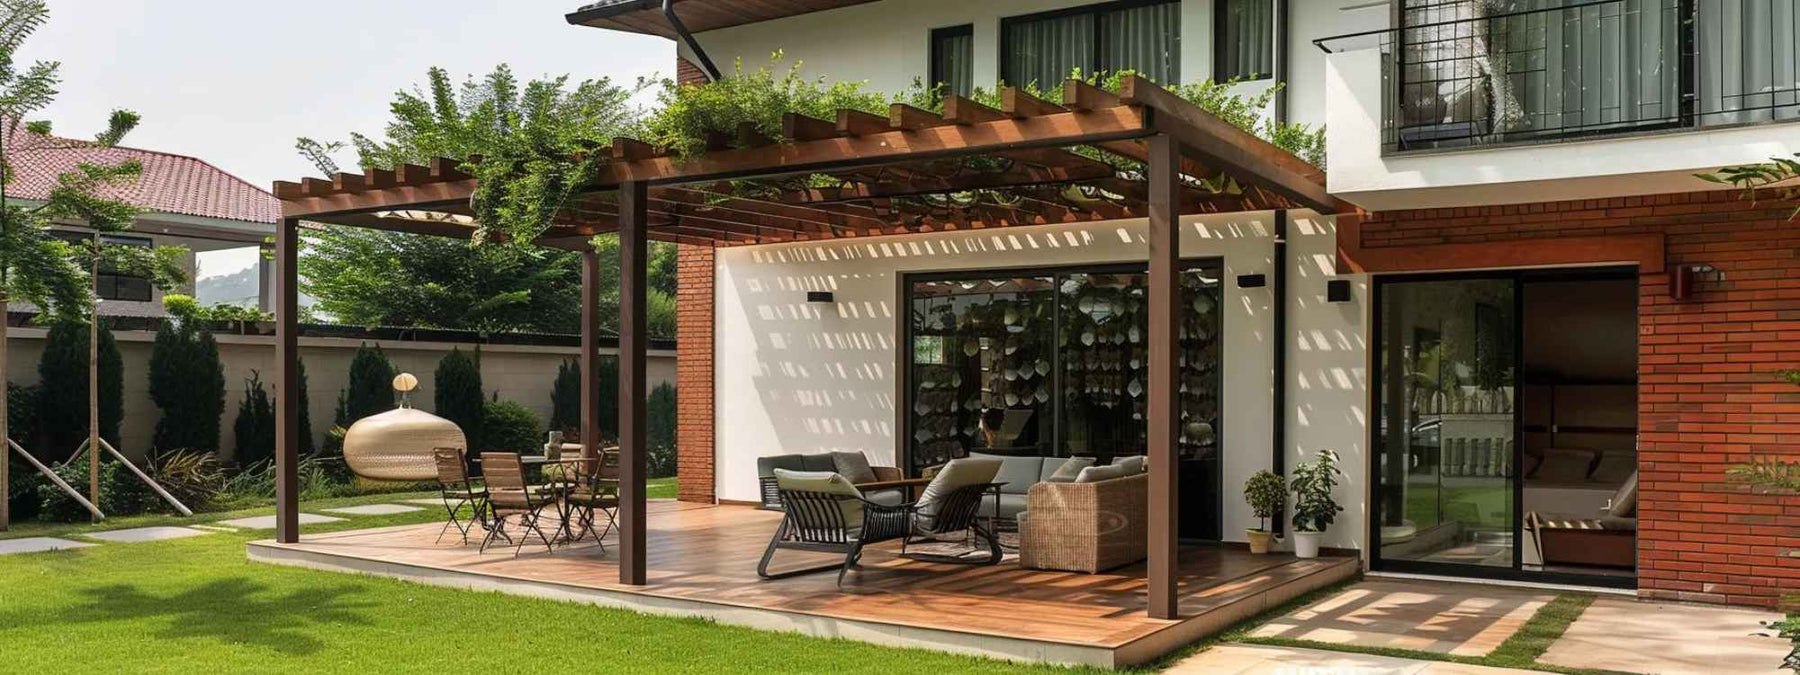
Adding a pergola attached to your house can seem like one of those perfect weekend projects. A shaded spot for sipping coffee, reading, or catching up with friends. Sounds pretty good, right?
But attaching a pergola to your home isn’t the same as popping a freestanding one into your garden. Attached pergolas blend directly into your home’s existing structure. They create a seamless extension of your living space. Plus, they boost your home’s curb appeal and its resale value.
Building one takes planning. It takes measuring (and re-measuring). It means setting aside at least a weekend or two.
Pergolas offer more than just shade. Connecting to the house makes them feel like a natural extension, like you’ve added another room, minus the walls.
They’re also sturdier. Anchored to the house, they hold up better against wind and weather. And because they’re tucked into existing space, they make smart use of what’s already there.

Common reasons people go for an attached pergola:
You’ll need to plan around your home’s structure. But if done right, Brookside Timber Frame Highland Oasis Pergola blends in so well it barely looks “added.” Just part of the design.
Having all the right tools and materials on hand can save you from a lot of mid-project headaches. This way, you won’t be scrambling to the store mid-build, wondering what went wrong.
First, here’s the essential gear:
Tools:
Don’t skip on quality here. Using weather-resistant and code-compliant materials ensures your Brookside Timber Frame Timber Resort Pergola lasts, not just for one season, but for many years.
For a pergola attached to your house, you’ll usually need a building permit. Not every city has the same rules, so check your local building department’s website or give them a quick call and ask about their building code for pergolas.

Another important note: always call your local utility company before digging holes for posts. Hitting underground cables can turn your weekend project into something costly and dangerous.
Finally, protect yourself. Grab some gloves, goggles, and hearing protection.
Start by measuring the space where you want your Structureworks Trex Pergola. Grab your tape measure and mark the area with painter’s tape or chalk. It’s simple, but it helps you visualize exactly what you’re working with.
Placement is everything here. Think carefully about where you’ll put it. Consider sunlight—are you after full shade, or just filtered sun during certain hours? Keep in mind doorways and windows. You don’t want your pergola blocking important access points or casting shadows indoors at the wrong times.
Also, think about how people move around your outdoor space. Traffic flow matters more than you think. You want the pergola to invite you in, not be an obstacle you have to navigate around.
Check the slope of your patio or deck. Even slight grades can impact water drainage and stability. It's not complicated, but a quick check now means fewer headaches later.
To make things easier, sketch out your layout on paper or use a simple online planning tool.
Building a pergola can feel daunting at first. But break it down into clear steps, and suddenly, it becomes manageable. Let's take it one step at a time.
The ledger board is your pergola’s anchor. Think of it as the sturdy backbone connecting your pergola directly to the house. It supports weight and stability, so take your time here.
Start by marking where your ledger board will go. Use a level to make sure it’s perfectly straight. Next, find and mark the studs behind your house’s siding or brick. Studs are the strong points to anchor the ledger securely.

Pre-drill holes into your ledger board and line them up carefully with your marked studs. Attach the board to your house using heavy-duty lag bolts. For brick or concrete, you’ll want masonry anchors. Whichever you use, double-check everything is tight and level.
Now that the ledger’s up, it’s time to set your support posts. These hold the Brookside Timber Frame Zion Resort Pergola away from your house. Accurate placement here sets the stage for the entire structure.
First, mark exactly where each post should stand. Use your layout sketch and a tape measure to stay precise. If you’re placing posts directly in the ground, dig holes about two feet deep, slightly wider at the bottom. This shape makes the concrete anchor stronger.
Fill each hole with concrete and set your posts. Use a carpenter’s level on every side to ensure each post stays perfectly upright. You don’t want a leaning pergola.
If you’re anchoring posts onto an existing concrete patio, simply secure them with metal post anchors. Drill the holes carefully and bolt everything tightly. Again, always double-check with your level.
Once your posts are set, it’s beam time. These horizontal beams link the posts to your ledger board, creating your pergola’s main frame.
Place the beams onto your posts, and secure them temporarily with clamps. Check the spacing and alignment carefully. A small mistake here means bigger headaches later.
Once everything’s straight and squared, bolt the beams permanently into place. Structural screws or bolts with washers work best. Take a step back regularly to check your work from multiple angles.
Rafters are the top pieces that cross over your beams. They provide shade and structure, completing the classic pergola look.

Space your rafters evenly, typically between 16 and 24 inches apart.
If needed, notch each rafter slightly so it fits snugly onto the beams. This prevents shifting over time. Secure each rafter with brackets or screws, and consider adding blocking pieces between rafters for extra sturdiness.
Smooth any rough edges with sandpaper to prevent splinters. Stain or seal the wood to protect it from weather and extend its life. Pick a color that complements your house rather than competing with it.
Now for the fun part. This is where function meets your style. String lights across the beams for evening charm. Add lattice panels for more privacy or to support climbing plants. Shade cloths can filter sunlight on hot days, and greenery adds life to your new outdoor space.
Realistically, building an Outdoor Living Today Western Red Cedar Pergola & Canopy attached to your house is usually a weekend project. That’s if you're already handy with tools and comfortable working through the steps.

Here's roughly how it breaks down:
Don’t feel pressured to do it all at once. Splitting things into manageable chunks often yields the best results.
Building your own Brookside Timber Frame Shadelan Retreat Pergola takes work. There’s no sugarcoating that. But you’re nearly there, and the toughest steps are behind you.
Now you get to make it your own.
Think about what you want from this space. Maybe it’s cozy evenings outdoors, shaded summer lunches, or a quiet place to unwind. It’s yours, so personalize it. Add string lights for atmosphere. Hang curtains or lattice panels for privacy. Plant climbing vines to blend structure with nature. Add garden furniture.
Choosing the right finish or stain can tie it seamlessly to your house. Or keep it natural if that’s your style. There’s no one-size-fits-all here.
The best part? Your pergola doesn’t have to be perfect. A little quirkiness or charm is what gives it character. And you built it, which is pretty satisfying on its own.
If you found this guide helpful, there’s more where it came from. Check out our other outdoor living blogs for simple, practical advice on turning your backyard into your favorite place at home.

