Have Questions? Call Now
512-777-0154
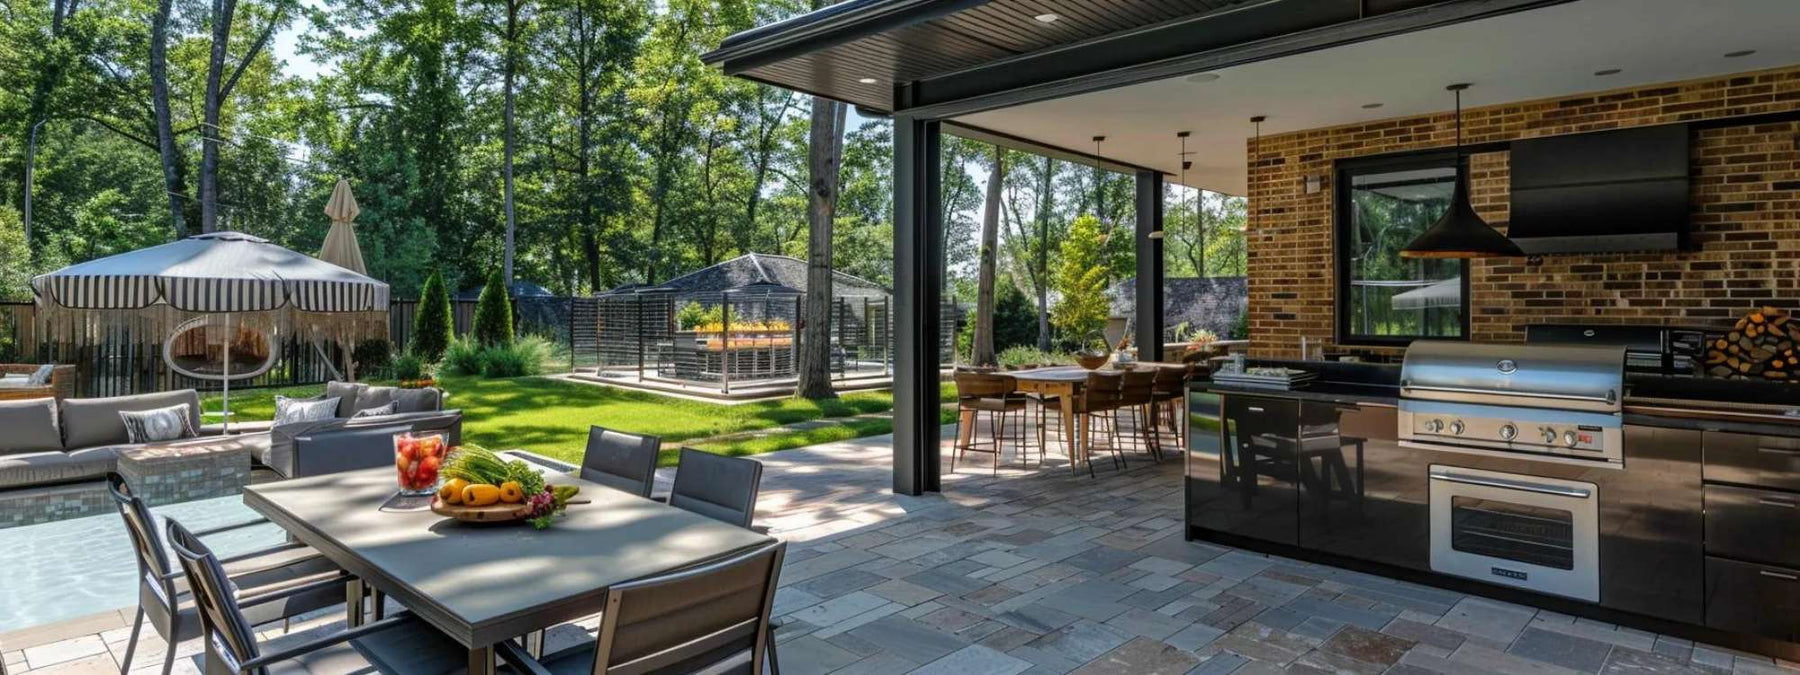
If you’ve ever thought about cooking outside in the summer, you know it’s more than just grilling burgers. An outdoor kitchen can transform the way you enjoy warm evenings. No more running back and forth to the kitchen; everything you need is right there.
It’s not just about outdoor cooking. It’s about creating a space where you can hang out, relax, and entertain without feeling cramped or stressed. With the right setup, your outdoor kitchen can quickly become the heart of your summer gatherings.
Here are the steps to set up an outdoor kitchen that’s both functional and fun. You don’t need to be a professional chef or designer to get it right. Just a few smart decisions, and you’ll be ready to cook and entertain.
The spot you choose for your modern outdoor kitchen can make or break the experience.
Think about how easy it is to get from your kitchen to your new outdoor living space. You want something close enough so you’re not hauling food across the yard. But you also don’t want it so close that you’re stuck in the house’s shadow all day.

Shelter is key, too. You’ll want to avoid spots where wind and sun can ruin your cooking or your time outside. Whether it’s shade from a tree or a small awning, think about how you’ll protect yourself from the elements.
Also, keep in mind:
Lastly, check for zoning rules or HOA guidelines before you get started.
A well-planned outdoor kitchen design is just like a well-planned meal; everything needs to have its place.
You wouldn’t throw a dinner party without making sure you have everything you need, right? The same goes for your outdoor kitchen.
This is the heart of your kitchen garden. Whether you’re grilling, smoking meat, or trying your hand at pizza, this outdoor space needs to be functional.
Make sure your Memphis Grills Pro Cart ITC3 Grill, smoker, cooktop, or griddle is placed with enough space around it. You don’t want heat or smoke to take over the entire area.
Consider ventilation and safety as well; a little room to breathe can save you from unnecessary hassle.

Countertop space is essential, especially for prepping and serving food. You’ll need enough room to chop, mix, and organize ingredients.
Materials that handle sun, rain, and spills, like Sunstone Savanna 8.5ft Wet Bar Outdoor Island Package, are your best bet. Stainless steel, stone, or concrete are durable and weather-resistant, and they won’t let you down when things get messy.
An outdoor kitchen is no good if you don’t have storage and a kitchen cabinet for tools and ingredients.
Weather-proof cabinets, utensil bins, and dry good spaces should be built in. Also, if you’re planning on using water, gas, or electricity, make sure you have the proper propane or natural gas hookups.
You don’t need to go overboard, but having the essentials covered will save you time and effort later on.
When it comes to your outdoor kitchen, it’s easy to get caught up in the “shiny new toy” mentality. But remember, you’re building a functional space, not just a collection of cool gadgets. Focus on what you’ll use.

Start with the basics:
Keep it simple at first, then upgrade over time. You don’t need to get everything all at once. Start with the essentials and stick to your budget, then add as you see fit.
An outdoor kitchen isn’t just for cooking; it’s for hanging out.
If your kitchen feels like a spot people want to linger in, it will quickly become the heart of your gatherings.
Start with shade. Whether it’s a Structureworks Reverie Fiberglass Pergola, a gazebo or pavilion, an umbrella, or a retractable awning, make sure there’s coverage from the sun. No one wants to cook or eat in direct sunlight for hours.

Next, think about outdoor seating. Provide comfortable chairs and a table that fits the space, like LuxCraft Arcadia Furniture Set. You don’t want to overcrowd the area, but you also don’t want to leave people standing around.
When the sun sets, lighting becomes important. String lights, lanterns, or built-in fixtures can set the mood and help keep the area usable after dark.
Finally, add some personal touches. Planters, outdoor rugs, or a nearby fire pit or an outdoor fireplace can make the space feel cozy.
Think of the outdoor dining and kitchen as part of your larger outdoor "room." When it’s comfortable, functional, and inviting, your kitchen becomes more than just a place to cook; it’s a place to enjoy.
It’s easy to overlook safety when you’re excited to cook outside, but a little planning can prevent big problems later. A safe deck kitchen isn’t just about avoiding disasters; it’s about making sure everyone enjoys the space without worry.

Here are a few key safety points to consider:
Before you invite everyone over, give your new outdoor kitchen a test run.
Start with something simple, maybe grilling a few burgers or veggies on your stove, griddle, or Alfresco Grills American Eagle 36” Built-In Grill. This isn’t just about the food; it’s about making sure everything works smoothly.
Invite one or two friends for a low-pressure “soft opening.” It’s the perfect way to see how the space feels with people in it.

While you’re cooking, check for:
Use this test run to adjust. Maybe tweak the layout, add a few items, or move things around. It’s easier to make changes now than after a big gathering.
From picking the perfect spot to running that first test meal, you’ve now got the framework for your dream outdoor kitchen that works as well as it looks. Every choice builds toward a space that’s both functional and enjoyable.
You don’t have to go all in from day one. Start with the essentials, then add pieces as you use the space and figure out what’s missing. Sometimes the best setups grow over time.
The real win here isn’t just a place to cook. It’s having a space where you can enjoy summer evenings without rushing inside for every little thing. A place where the cooking, the conversations, and the company all blend together.
So, take your time. Enjoy the process as much as the finished kitchen. And when you’re ready for more ideas, check out our other outdoor living guides; there’s plenty more to explore.

